The Eyes: DIY Halloween

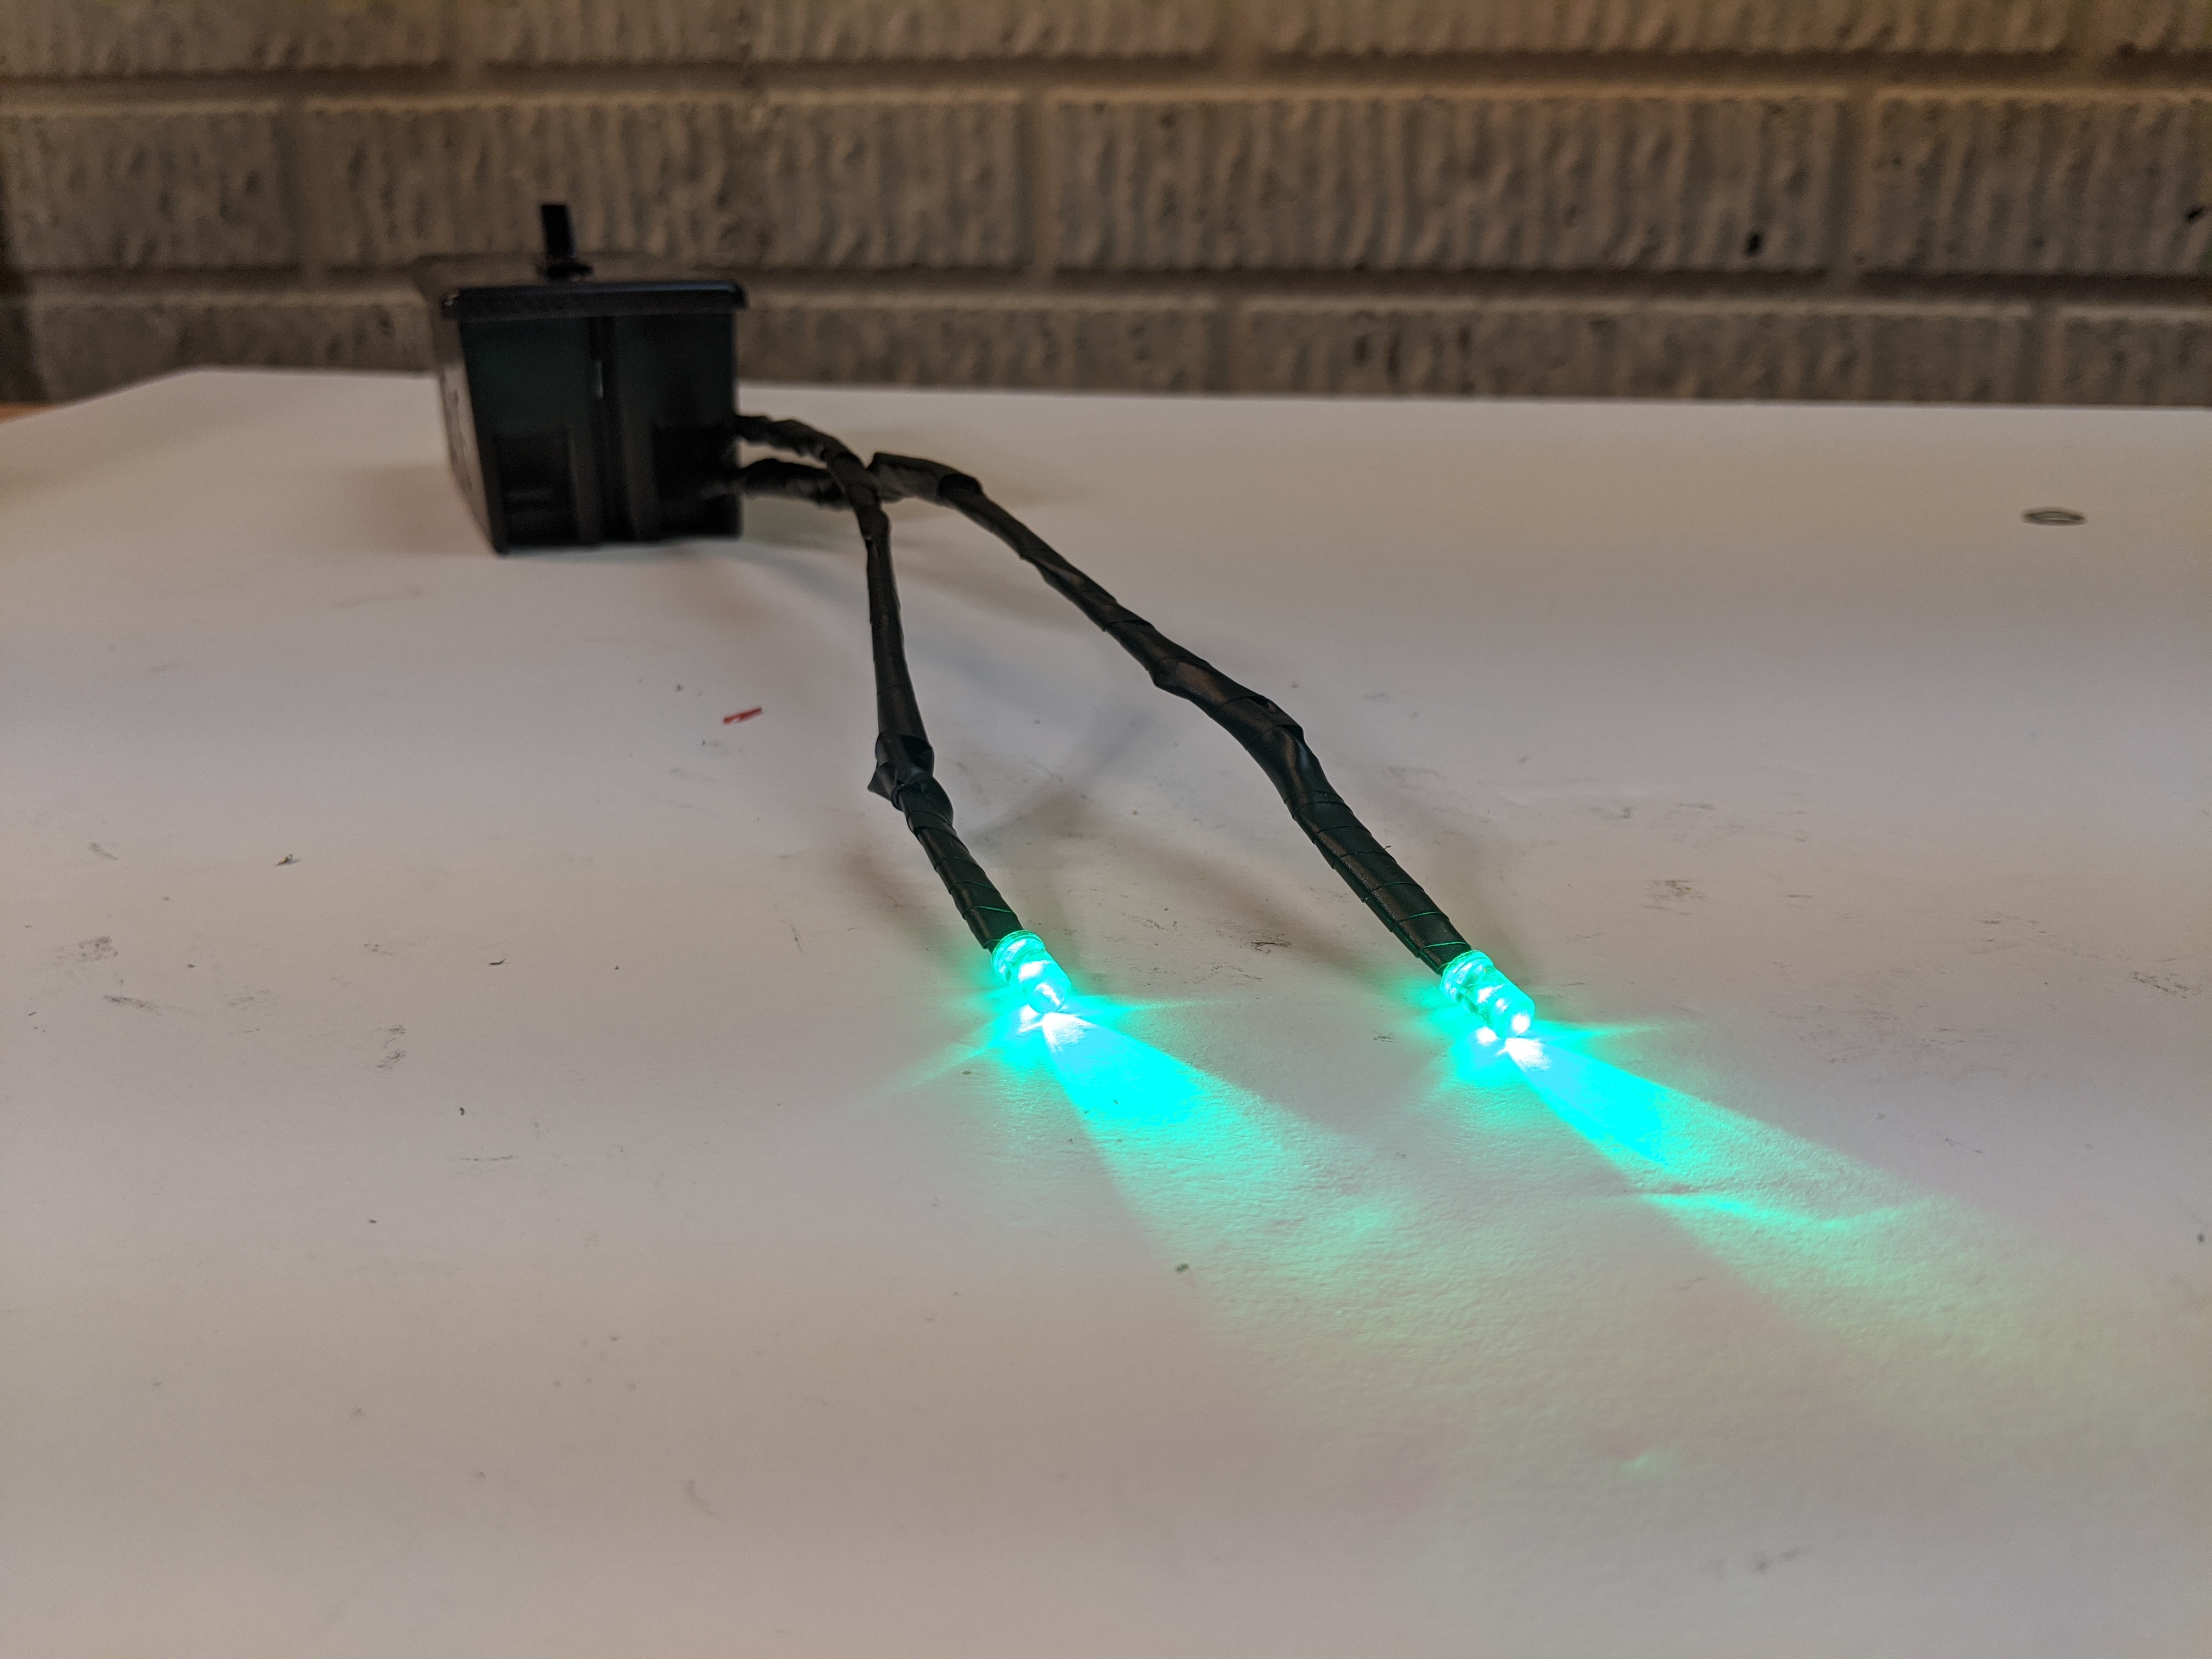
Glowing-eyed goblins infest the planters at night.
These glowing eyes can peek out from bushes, potted plants, the wheel wells of parked cars, or anyplace else that’s just a little hidden. It will give your yard a cheerfully haunted look for Halloween. The lights should be bright enough that they’re visible peering out from shadowy bushes even during daylight hours. Hide a few low to the ground near a walkway. Young children get really excited when they find the little glowing goblins hiding in the bushes.
Materials
If you purchase your materials from the links, a small percentage comes back to me, to help fund this site (and future projects). But if you can you should check out your local hardware store for materials and tools.
Best Ordered Online
Best Purchased from a Hardware Store
Most hardware stores will have these items in their electrical department, where they will be very inexpensive. The prices online are crazy high and you shouldn’t pay them unless you have no other choice.
- Wire Nuts. Use small nuts (usually orange) designed for 18-22 gauge wire.
- Bell Wire. Any wire from 18-22 guage will work, but 2-strand bell wire is easy to find.
- Surface Mount Outlet Box definitely by this at a hardware store, the online prices are high and delivery times are long.
- Single Pole Single Throw Light Switch
- Switch Plate
- Black Electrical Tape
Optional
You can pick up spray paint at any hardware store, if you don’t have some around already. Be sure to match the type of paint to the outlet box. Plastic boxes won’t accept metal paint (and might melt). Metal boxes generally won’t accept plastic paints well.
Tools
Any decent hardware store (and most bad ones) will have all of these tools.
- Wire Strippers
- Sharp Knife I keep a sharp pocket knife with me most of the time, but small utility knives with break-off blades work especially well. If you got the pocket knife route, let me strongly recommend a small, sturdy Kershaw knife, which will take a good edge and hold it. The curve of the blade also makes some tasks like shaving insulation easier.
- Reversible Screwdriver Look for the cheapest one, with a brightly colored handle. It doesn’t have a bunch of fiddly bits to deal with, and if you lose it you won’t be heartbroke because of the cost.
Instructions
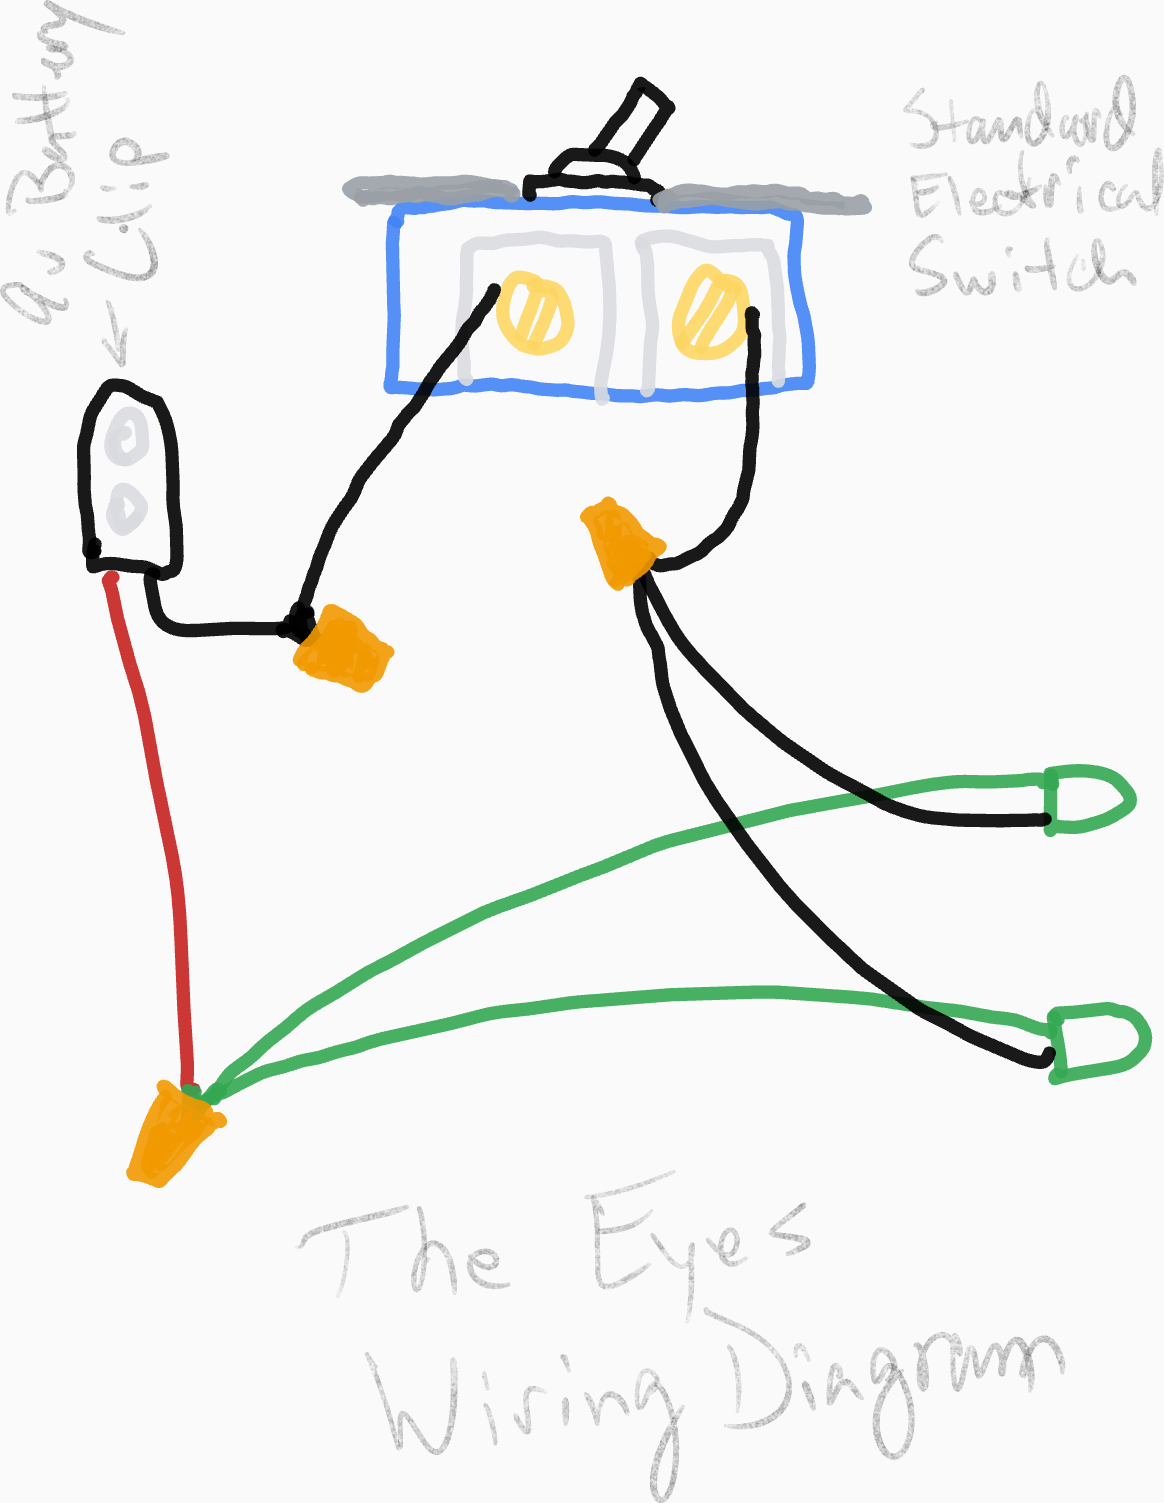
Crude Wiring Diagram
Battery Hookup
- Cut a pair of wires, 2-3 inches long (5-7cm) from the bell wire.
- Strip half an inch (1cm) from each end of the wire using the wire cutters.
- Very carefully, with the knife, expose half an inch from the wires of the battery clip. The wire strands are very fine, and it’s easy to cut through them. A careful peeling stroke with the blade will shave off layers of insulation and keep you from cutting wires.
- Use a wire nut to connect the black wire from the battery clip to one of the short lengths of Bell Wire. See Wire Nuts for details about how to make a secure connection.
LED Hookup
- Use the screwdriver to pry open one of the angled slots at the top of the box. It’s usually easiest to open the slot at the back of the box.
- Feed the wires from the LEDs through the slot at the top of the box.
- Strip a half inch (1cm) of insulation from the end of the led wires using a sharp knife.
- Connect the ends of the black wires to the other short length of bell wire with a wire nut.
- Connect the ends of the colored wires to the red lead from the battery clip with a wire nut.
The Switch
- Using the tip of the wire strippers/cutters with the toothed grip, bend the loose ends of the bell wires into a J shape.
- Hook the wire over the shaft of one of the brass screws on the switch.
- Tighten the screw down to hold the wire securely. The screw might be hard to start at first. If you use a phillips head screwdriver it will be less likely to slip. Trust the voice of experience, getting gouged by a slotted screwdriver hurts.
- Repeat the process for the other bell wire.
Testing
Connect a battery to the battery clip and flip the switch to the on position. The LEDs should light up. If they don’t, check that all of the connections are secure.
Installing the Switch
- On the silver plate on top of the switch, there are two little tabs at each end. Use the tip of the wire strippers to bend all four tabs back and forth until they break off.
- Use the screws on the switch to attach it to the outlet box. It will be stiff because the plastic has not been threaded yet. Again, a phillips screwdriver is less likely to slip.
- Use the screws that come with the switch plate cover, and attach the cover to the switch.
Wire Nuts
- Twist the wires around each other.
- Twist the wire nut over the wires. You don’t need to twist far: one or two rotations will secure the wires as well as they’re going to be secured.
- Cut a short length of tape, 1-2 inches (3-5cm), and wrap it around the wires beneath the nut.
- Cut a longer length of tape, 3-4 inches (8-10cm), and wrap it around both the nut and the wire.
Long Eye Stalks
The wires to the LEDs are pretty short using the default wires. You can make longer wires if you’re comfortable soldering. Just cut bell wire to the desired length, solder the stripped ends together, and strengthen it with a heat-shrink tube.